|
In this section, you will finish creating the data list by choosing the data fields it displays and adjusting its appearance. This is a simple example, so you will not use all available data list options. To learn the many things you can do with a data list, see Advanced Data List Options.
Continuing from the previous section, the Data Publishing dialog box should be open on your screen.
1. In the Data List Name field, type: Directory
Your data list's name appears on the Properties palette. Data list names are particularly useful when you place more than one data list on the same page.
2. In the Data List Fields window, click the check boxes to the left of ENAME, JOB, and DEPTNO.
3. Click OK.
The data list appears and includes the fields you checked. It includes only two rows, as described in Elements of Data Publishing: Data List.
4. Drag the right edge of the data list rectangle out to the right, then drag each column border to the right until the column headings in the first row are comfortably spaced.
Dragging column borders does not change the outside boundary of the list, only the relative positions of the dividers.
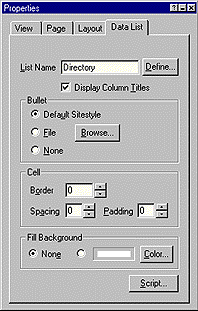
5. Verify the settings on the Data List tab of the Properties palette.
Continue with the next tutorial.
Before continuing, you can switch to Assets view, click Data Objects, and then double-click the SCOTT data object. You can review how NetObjects Fusion filled in the data object options using information from the spreadsheet. The data object takes the spreadsheet's name and defines the type of fields it contains.
|
