When you add NetObjects Fusion Custom Components to your site, you create Component Suites for components that will be used together. For example, if you want to feature multiple guestbooks on a site—each with its own Guestbook Admin area—you would add each Guestbook component and its corresponding Guestbook Admin component as part of the same suite.
When you add a Custom Component to a page, you will be prompted to either create a new suite or to add the component as part of an existing suite.
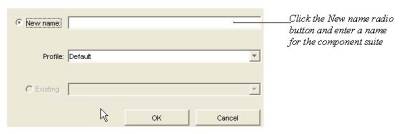
To create a new Component Suite:
In the dialog that appears when placing a component on a page, ensure that the New name radio button is selected.
Type a name for the Component Suite in the New Name text field.
If you have already created a Profile for the components settings, select the profile you want to apply to the component in the Profile drop-down list.
If you have not yet created a profile for this Component Suite, you can do so when you configure the component settings. See Creating Component Profiles.
Click OK to close the dialog.
To make the component part of an existing Component Suite:
In the dialog that appears when placing a component on a page, ensure that the Existing radio button is selected.
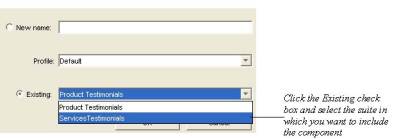
Select the Component Suite that you want to add the component to from the drop-down menu.
If you have already created a Profile for the components settings, select the profile you want to apply to the component in the Profile drop-down list.
If you have not yet created a profile for this Component Suite, you can do so when you configure the component settings. See Creating Component Profiles.
Click OK to close the dialog.