You use file links to link to a file. For example, you might create a file link so site visitors can download the file. When you create a file link, the file it refers to becomes an asset of the site and is uploaded to the server when the site is published.
To create a file link:
In Page view, select some text or select an object to link.
If you place the insertion point within the text without selecting text, the file name is inserted in the text.
On the Standard toolbar, click the Link tool.
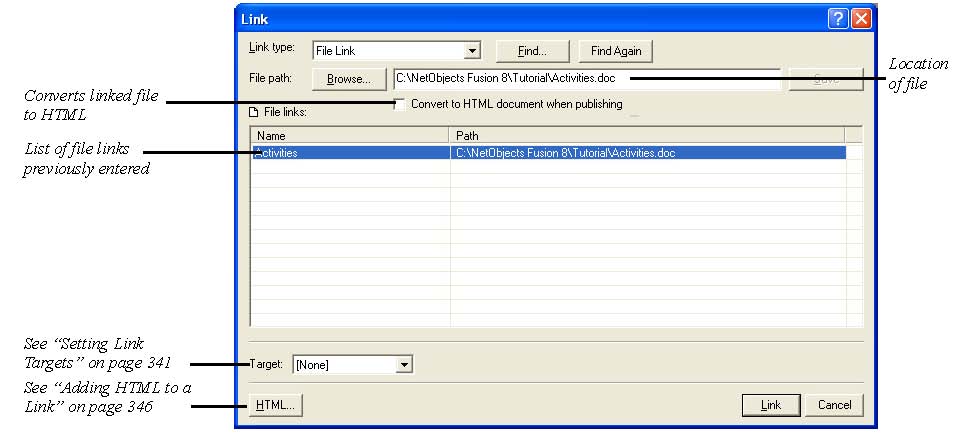
The Link dialog appears.
Select the File Link type.
The File path field displays the path to the file and the Name column displays the name that appears as the link if no text or object is selected.
Click Browse, select a file in the Open dialog, and click Save.
If necessary, enter or edit the Name.
This name appears as the link if no text or object is selected and also in the list of links in Assets view so you can quickly identify and sort link destinations. It is not added to the HTML generated when your site is published.
Select Convert to HTML document when publishing so all site visitors can view the document. If your linked file remains in its original format, it can only be opened by applications that support that file type. This feature only works with .doc, .mcw, .xls, and .rtf files.
Click Link.
Note:
The way the linked file opens for site visitors depends on the configuration
of their browser and Web server. Test the link in the appropriate browsers
before publishing the site.